The northern sky can suddenly ignite in ribbons of green, pink, and violet, and for a few spellbinding minutes you feel the planet breathing. This guide demystifies the aurora borealis and helps you actually see it, not just dream about it. You will find science you can understand, forecasts you can use, and practical tips from travelers who have stood in the snow and watched the sky dance.
💡 Keys Takeaways
- The aurora borealis occurs near the magnetic poles and is visible in specific locations during certain times of the year.
- Statistically, Alaska, Norway, Canada, and Iceland are the most popular destinations for viewing the aurora.
- The solar cycle influences the intensity and frequency of auroras, with an 11-year cycle affecting their visibility.
What is the Aurora Borealis?
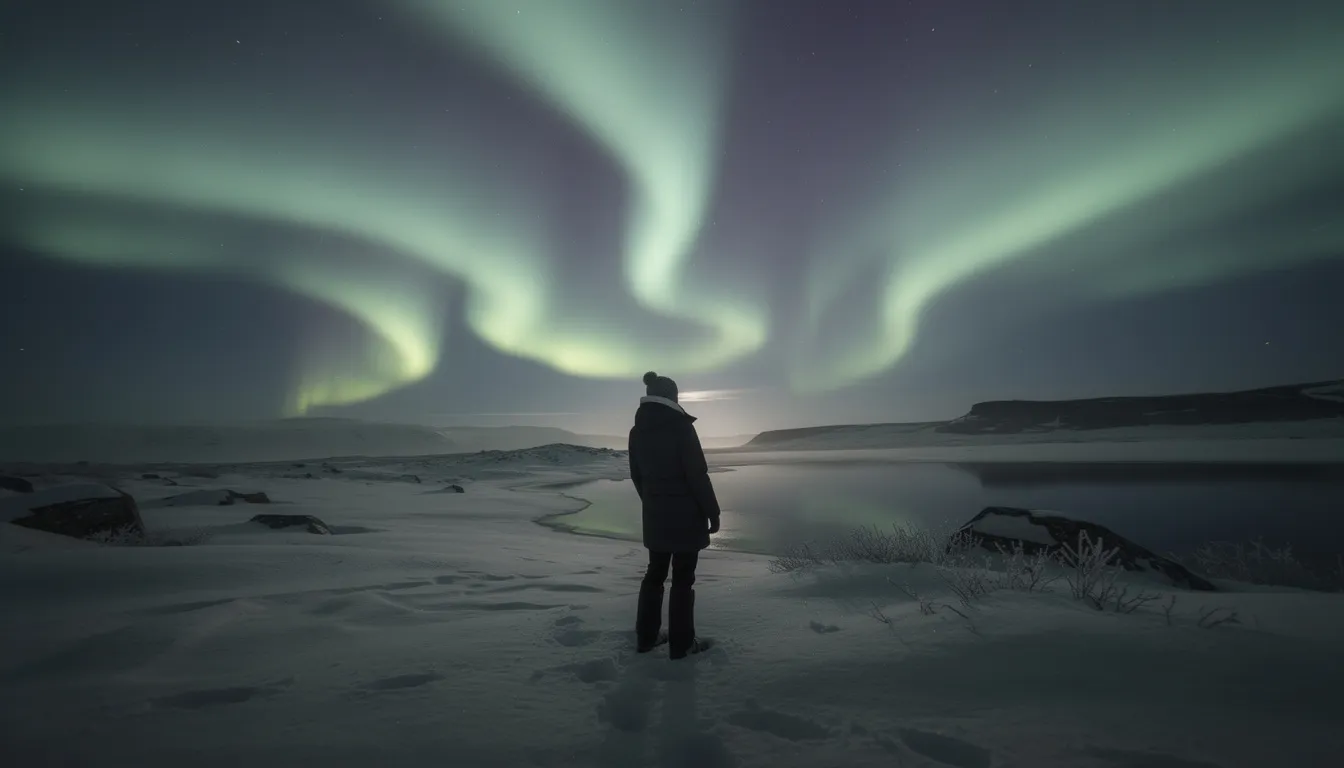
The aurora borealis is a natural light display in the night sky, most often seen in high-latitude regions around the Arctic. It shows up as arcs, curtains, and spirals of color that drift, ripple, and brighten without warning. The counterpart in the Southern Hemisphere is called the aurora australis.
This phenomenon loves winter darkness, clear skies, and places close to the Earth’s magnetic poles. While you can sometimes see it farther south during strong storms, your best odds are under the auroral oval that wraps around the polar regions. Activity tends to peak during the 11-year solar cycle maximum, when sunspots and eruptions are more frequent.
Scientific Explanation
It starts at the Sun. Solar storms launch streams of charged particles into space. When some of those particles reach Earth, the planet’s magnetic field guides them toward the polar regions. High in the atmosphere they collide with oxygen and nitrogen atoms, and those collisions release energy as light.
Color depends on the gas and altitude. Oxygen at about 100 to 150 km often glows green, while very high altitude oxygen can produce deep red. Nitrogen adds purples and pinks along the edges of fast-moving curtains. The shape you see reflects invisible magnetic field lines that arc over the polar cap and funnel particles into the atmosphere.
Travelers describe the motion as slow breathing, then sudden bursts. “I thought I was watching gray clouds until the edges turned lime and started flowing,” one viewer in Finnish Lapland said. “Ten minutes later the whole sky was swirling.”
Best Places to See the Northern Lights
Auroras prefer darkness, clear skies, and high latitudes. That is why destinations under the auroral oval get reputation points year after year. Plan for long nights from September to April in the Northern Hemisphere, avoid bright moon phases if you can, and get away from city glow to a dark-sky site.
Statistically, Alaska, Norway, Canada, and Iceland draw the most visitors and have reliable infrastructure for winter travel. Prime spots often sit between roughly 65° to 72° N, where the auroral oval usually passes overhead. Typical prime-time viewing runs from local 10 pm to 2 am, but strong shows can arrive earlier or later, so keep checking the sky.
Pick a home base with flexible access to darker areas and microclimates. In Tromsø you can cross a fjord to outrun clouds. In Fairbanks a one-hour drive can trade fog for crystal air. In Iceland, the south coast has more changeable weather, while the north often sees steadier cold and clearer nights. “Our first two nights were cloudy,” a traveler in Abisko reported, “then we drove 30 minutes and the clouds split like theater curtains.”
Top Locations Worldwide
- Tromsø, Norway: Coastal fjords, frequent activity, guides who chase breaks in the cloud deck. Lofoten Islands add dramatic mountains and beaches for compositions.
- Fairbanks, Alaska: Inland skies with statistically stable weather, heated aurora cabins, and easy access to hot springs on off nights.
- Yellowknife and Whitehorse, Canada: Dry cold, vast horizons, and a high hit rate for multi-night stays across the Yukon and Northwest Territories.
- Iceland: Short drives from towns to dark viewpoints, black-sand beaches and ice lagoons for reflections, frequent fast-moving weather that rewards patience.
- Abisko, Sweden: Mountain rain shadow that creates clear pockets, a favorite for photographers. Nearby Kiruna offers logistics and lodging.
- Finnish Lapland: Glass igloos, cozy cabins, and pine forests that frame the sky; Rovaniemi and Ivalo are classic gateways.
- Greenland and Svalbard: Wild, remote, and photogenic for expedition-style trips when you want big landscapes with minimal light pollution.
How to Photograph the Aurora

Photographing the aurora borealis is a mix of preparation and improvisation. You need a sturdy tripod, a wide-angle lens, and a camera that handles higher ISO settings without too much noise. Dress warm enough to stay outside longer than you think, because the best structure can arrive after an hour of subtle gray glow.
Choose a fast lens, ideally f/1.4 to f/2.8, and shoot in RAW. Start with manual focus set on a bright star; use live view and magnify to nail focus, then tape the ring. For a medium-bright display, an exposure of 2-10 seconds at ISO 1600 is a reliable baseline. If the aurora is faint, extend to 10-15 seconds or push ISO to 3200. If it is moving fast, shorten to 1-2 seconds to keep detail in the curtains.
Compose with intent. Include a frozen lake for reflections, a line of birches as a frame, or a cabin window for a warm accent. A headlamp on low power can paint a foreground rock for one second, then switch off to let the sky do the rest. White balance around 3200-3800K keeps greens natural, but you can fine-tune later in post if you shoot RAW.
Camera Settings and Techniques
- Settings to start: Aperture wide open, shutter 2-8 s, ISO 800-3200. Adjust one variable at a time and watch the histogram to avoid clipped highlights.
- Manual focus: Focus on a bright star, then disable autofocus. Recheck if temperature drops sharply, as lenses can drift.
- Reduce blur: Use a remote release or 2 s timer; disable lens stabilization on a tripod; shield the setup from wind.
- Smartphones: Use Night or Pro mode, rest the phone on a stable surface, manual ISO 800-1600, exposure 2-4 s, and keep frames short if the aurora dances quickly.
- Creative options: Time-lapse with 2-5 s intervals, foreground light painting for one frame, or include a human silhouette for scale.
Understanding Aurora Forecasts
Forecasts help you decide when to head out and how far to drive. The headline number is the Kp index, which estimates global geomagnetic activity from 0 to 9. Higher Kp often means the auroral oval expands farther from the poles. But local visibility also depends on the interplanetary magnetic field’s north-south component, called Bz; a southward (negative) Bz often boosts displays, especially at lower latitudes.
Two other fast checks: solar wind speed and density. Speeds over 500 km/s combined with increased density can signal active periods. Clouds still win every time, so cross-check sky cover on local forecasts. Many travelers watch real-time nowcasts, then step outside for a horizon scan every 15 minutes. “Our biggest show spiked for 25 minutes, then faded,” one couple in Yukon said. “If we had waited for a louder alert, we would have missed it.”
How Forecasts Work
Agencies blend satellite data, ground magnetometers, and models to produce a 3-day outlook and shorter-term predictions. Solar observers track sunspots, coronal holes, and coronal mass ejections. Fast solar wind streams from coronal holes can enhance activity for days, while CME impacts are one-off hits that arrive roughly 1 to 3 days after eruption.
Short-term forecasts matter most from hour to hour. Substorms can light up the sky for 20 to 60 minutes, then relax. Keep notifications on, but rely on your eyes and a flexible plan. If you are on the edge of the auroral oval, a small shift north or south of 50 to 100 km can transform a gray arc into a full overhead crown.
Tips for a Successful Aurora Viewing Experience
Think in terms of probability, not guarantees. Build a trip with multiple nights in the auroral zone to raise your odds. A sweet spot for many travelers is 3-5 nights, which often intersects at least one clear period and one active window. Aim for darker parts of the month and stay nimble with transport so you can chase gaps in the clouds.
Dress for long, still hours outside. Layer a moisture-wicking base, a thick insulating midlayer, and a windproof shell. In Arctic cold, plan for -20°C to -30°C exposure and protect extremities with insulated boots and mittens. Bring chemical hand warmers and keep spare camera batteries inside your jacket; cold can drop battery life by half. “The aurora hit right after midnight,” a photographer in Yellowknife shared, “and the only reason I stayed for the second wave was a hot thermos and extra socks.”